


Photography Meets Pixels: Crafting Compelling 3D Visuals
The principles governing both photography and 3D rendering share remarkable similarities. A profound grasp of photography translates directly to an enhanced quality of 3D imagery. While the vast array of camera options within a 3D environment might initially appear liberating, the absence of constraints can create the illusion of limitless possibilities. Yet, it is within the framework of reality and established rules that we discover the key to unlocking photo realistic and visually impactful outcomes. Establishing a strong foundation rooted in the principles of photography proves instrumental in navigating the expansive creative landscape of 3D rendering.
Composition
Here you can see examples from our own work and how using the frame work of existing composition rules helps to create balanced and dynamic images which are aesthetically appealing to the eye. This can be with both layering items and spacing items out to create a flow that draws your eye through the image.
Note that with your composition choices that the lens choice of your camera is very important.
In this example, you can observe how the choice of different lenses can yield markedly distinct visual outcomes.
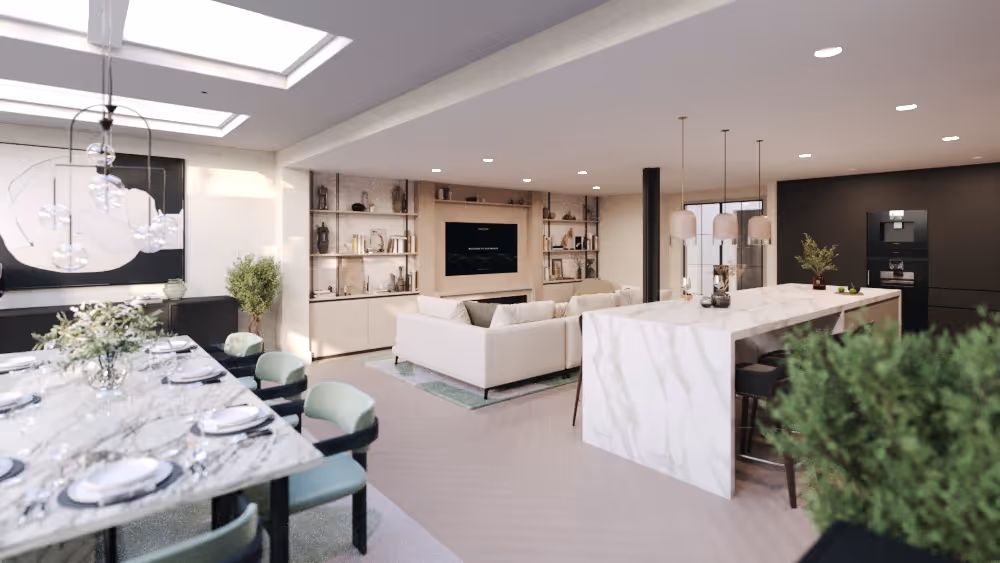
A Wider lens extends the image, offering a broader perspective and more expansive view. While this is advantageous for showcasing a significant amount of space, it can sometimes create a sensation that the image is extending beyond the confines of the page.
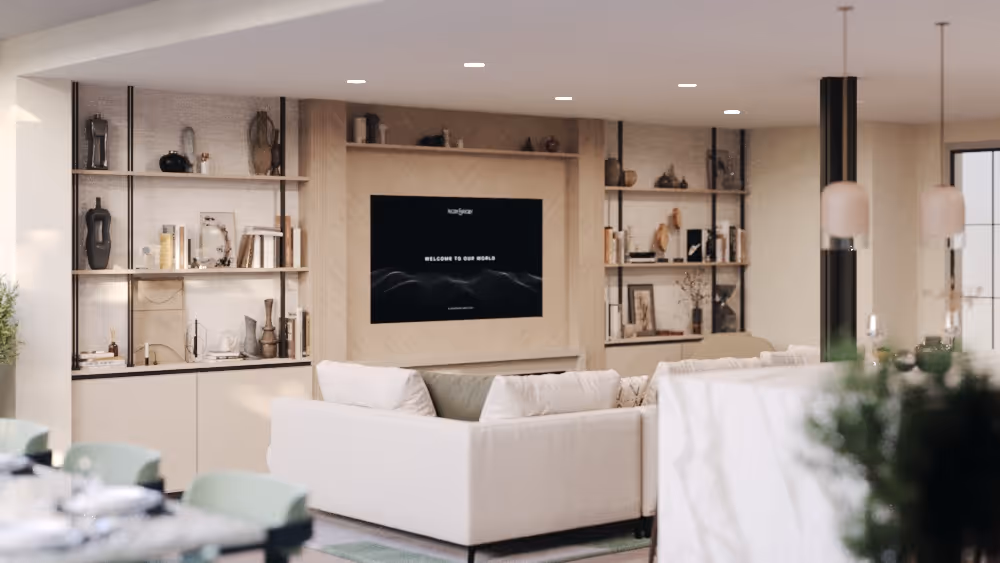
Conversely, a shorter lens narrows the field of view, causing elements within the frame to appear tightly connected. This can result in a flattened, two-dimensional feel to the image.
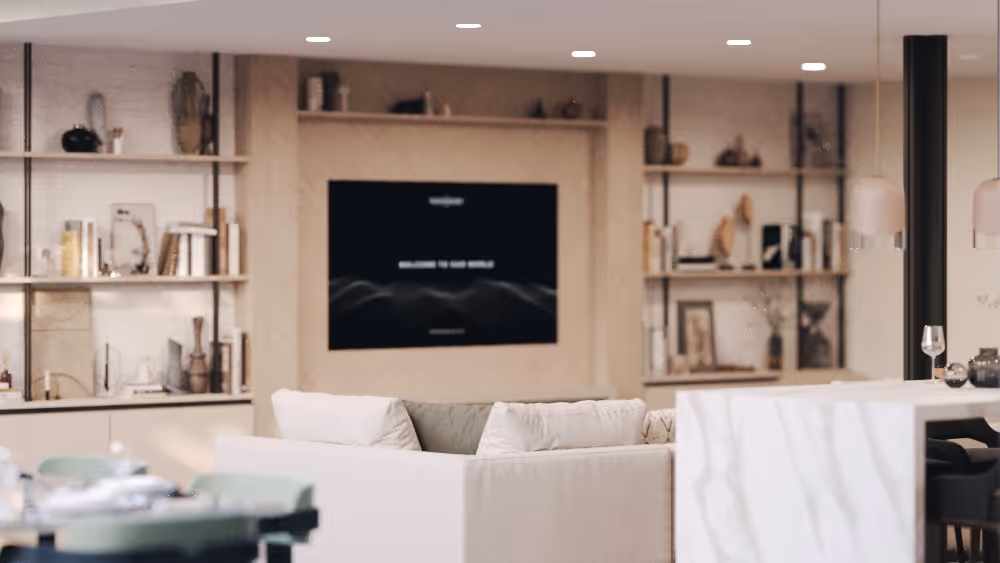
Selecting the appropriate lens is crucial, requiring a deliberate choice based on the specific situation. Even though various techniques exist in the 3D space to address these issues (such as hiding walls or using camera clipping), true mastery comes from understanding the inherent effects of camera settings. By comprehending these effects, we can skilfully apply the correct solution to each unique problem.
Lighting
In both photography and 3D rendering, the strategic use of light serves as a powerful tool to accentuate the subject, infusing it with depth, dimension, and visual impact. Much like a skilled photographer employs lighting techniques to highlight key elements in a composition, 3D artists harness the nuances of light to sculpt and enhance virtual scenes.
Consider the way a photographer might use natural light to cast a gentle glow on a subject, evoking a mood or highlighting its unique features. Similarly, 3D artists meticulously craft the interplay of light and shadow to evoke emotions, guide the viewer’s gaze, and define the visual hierarchy within the virtual space.
Examining the example above, when we de-construct it into fundamental forms and shapes while eliminating colour, the deliberate use of light becomes evident. It effectively serves to emphasize our subject and delineate crucial shapes within the composition. By employing akin techniques to those employed by photographers, involving strategic light placement and thoughtful camera settings, we can seamlessly integrate these elements to craft a compelling sense of depth in our images.
In the image above, lighting plays a crucial role in creating contrast and guiding the viewer’s attention. By adjusting the angle of the light, we avoid a flat look and introduce a more dynamic feel.
The intentional interplay of light and shadow adds depth to the composition, directing the viewer’s focus. Shadows become purposeful, contributing to a textured narrative as you explore the image.
This use of lighting also adds a touch of drama, with highlights and shadows creating visual interest. Beyond its practical function, manipulating light contributes to the image’s mood, going beyond a simple representation of subjects.
In summary, careful choices in lighting transform the image from a flat representation into a more engaging visual experience. Contrasts and shadows become essential, shaping how viewers engage with the composition.
As you can see in this example photo the lighting creates striking contrast on what could otherwise be a rather dull colour palette. The long shadows and highlights separate components that could otherwise been together.
Enhances the materials- the most apparent example in this image is the rippling curtains and the gloss surface of the metal pendent and table.
As you can see the theory behind the use in lighting between photography and 3D is almost identical.
Colour
In the example below, observe how the colour palette of an image contributes to depth and accentuates different elements. When working with natural light, we can categorize it into three main components: Direct Sunlight (warm), Environment Light (cool), and Interior Lights (which may vary but often lean towards warmth).
In this particular image, the sunrise’s direct sunlight enters through the left window, serving as one of the warmest points. To seamlessly connect this warmth with the coolness of the environment light on the right, interior lighting is strategically employed.
By employing these techniques, we guide the viewer’s gaze from the farthest left of the image, drawing their eyes across and through the composition towards the right, primarily utilizing colour.
Below you can see that we are now using colour to create mood. In the first image our plane is visibly white and bright creating freshness and contrast but with a flat palette. Next to this we have a pallet of red and green.
Although the lighting may seem random we still need to keep the same photography rules we learnt about when we think about lighting as we do thinking about colour. When we desaturate our palette we see that we still have clearly defined shadows, mid-tones and highlights.

Once we understand this we can use colour effectively without creating a mess. Using this colour palette we have managed to create a moody stoic but also futuristic feel remnant of mood of Futurist artist Tullio Crali’s La Forza della Curva.

After gaining a grasp of composition, lighting, and colour in their fundamental aspects, we can efficiently optimize our efforts in crafting 3D imagery. While there’s room for experimentation and bending these rules, establishing a solid foundation is crucial to fully harness the potential of this contemporary art form.


.avif)


